There are a couple of things to pay attention to when you're gluing the scarf joints. The first is aligning the panels so they'll have a straight edge. I popped a bright orange chalk line on my bench top to serve as a guide. If you wind up with 16 foot blanks not properly aligned, it's really no big deal - you'll just have to pop a line on the blanks themselves to serve as a baseline when you do the layout. Hopefully these will be straight enough that I'll be able to use the edge of the panel as a baseline. Less cutting that way.
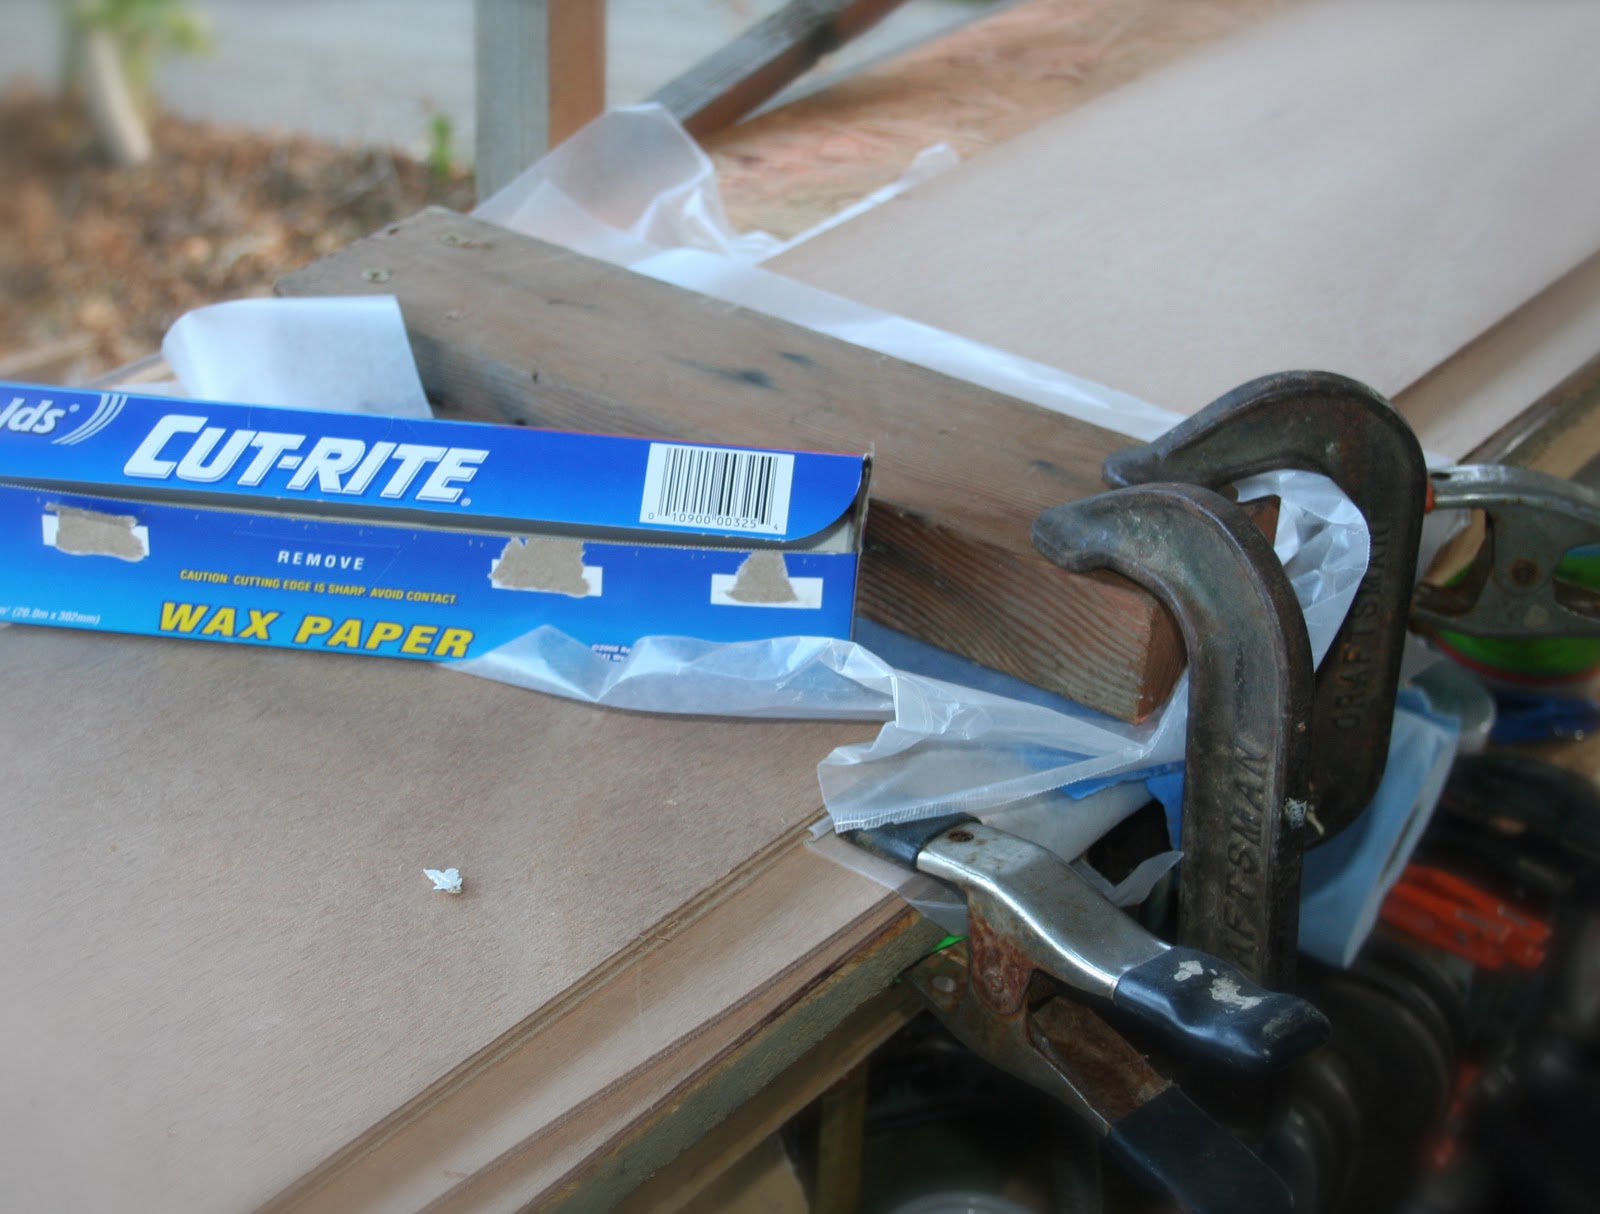
The other thing to get right is clamping the joints. Because you've cut little ramps into the wood, and you'll be lathering them up with slippery glue mixed with a bit of thickener (I used dust from the bag of my finishing sander), they have a tendency to slide apart if you don't clamp them down really well along the length of the boards. Alternatively, you can apply the glue, line things up, then hammer a couple little finishing nails through the scarf joints to keep them from sliding. And of course, before you do that, put tape along the scarf lines (both sides) and wax paper between the sheets to keep the scarf joints clean along the glue lines and the sheets from sticking together when the excess glue squeezes out. If you look closely, you can see the blue painter's tape under the board. It's on each side of each panel. To supply the clamping force, I cut a 2x4 a couple inches longer than the blanks are wide, and I screwed one end of it to the benchtop and clamped the other to the edge of the bench. Now it's just a matter of waiting for the epoxy to react...

No comments:
Post a Comment